Table of Contents
- Start With a Detailed Office Furniture Installation Site Preparation Plan
- Create a Realistic Office Furniture Installation Timeline
- Assemble Your Office Furniture Installation Checklist
- Choose a Qualified Installation Company With Proven Experience
- Coordinate Delivery Logistics and Warehouse Storage
- Communicate With Stakeholders and Employees Throughout Installation
- Complete the Furniture Installation Punch List and Handoff
- Avoid Common Installation Mistakes and Manage Costs
- Frequently Asked Questions
Last Updated: October 15, 2026
Start With a Detailed Office Furniture Installation Site Preparation Plan
Successful furniture installation project management begins with a thorough site assessment and detailed floor plan.
Measure wall-to-wall, corner to corner, and around obstacles with a laser tool. Note ceiling heights, doorway widths, hallway dimensions, and outlet, HVAC vent, window, and support column locations. This is where most projects go wrong: installers show up and the furniture doesn’t fit.
Assess your space and measure twice
Document measurements in a floor plan with exact dimensions, noting complicating features: load-bearing walls, low ceilings, narrow passages, or irregular shapes.
Verify doorways fit assembled pieces, a built desk or cabinet may not clear a standard frame. Installers can disassemble and reassemble on-site, but that adds time and cost.
Verify building access and utility locations
Contact your building management or facilities team. Confirm:
- Which entrances installers can use
- Loading dock access and hours
- Elevator availability and capacity limits
- Parking for installation vehicles
Identify utility locations before installation. Call 811 if you’re drilling, anchoring, or moving heavy items, and know where electrical, gas, and data lines run to prevent damage and injury.
Check building rules on noise and disruption hours. Most commercial buildings restrict loud work to weekday business hours; some require advance notice or permits.
Create a Realistic Office Furniture Installation Timeline
A detailed furniture installation project management timeline protects against delays and cost overruns. Build it backward from your move-in date, accounting for dependencies and buffer time.
Map milestones and dependencies
Break your project into clear phases:
- Site assessment and planning, 1-2 weeks. Finalize measurements, floor plans, and furniture selections.
- Order and procurement, 2-4 weeks. Confirm stock, place orders, and schedule delivery windows.
- Pre-installation coordination, 1 week. Confirm access, utilities, and employee communication.
- Delivery and staging, 1-3 days. Receive furniture and position it in staging areas.
- Installation and assembly, 2-5 days depending on scope. Professional installers assemble and position all pieces.
- Quality checks and punch list, 1 day. Walk through with installers, document any defects or adjustments.
- Final handoff and warranty setup, 1 day. Confirm all work is complete and warranty terms are clear.
Each phase depends on the previous one, so a delayed order shifts everything. Build in a 20% buffer for weather, access issues, or structural problems.
Build in buffer time for unknowns
Real projects rarely follow the plan: a wall is thicker than expected, a door frame gets damaged, an elevator breaks down, or a delivery runs late.
Add at least one week of contingency before your hard deadline.
Track your timeline in a project management tool or spreadsheet with start dates, end dates, and dependencies.
Assemble Your Office Furniture Installation Checklist
A detailed office furniture installation checklist ensures nothing gets missed during planning, before installation, and after completion.
Pre-installation verification steps
Two weeks before installers arrive, verify:
- All furniture has been ordered and is in stock
- Delivery date is confirmed with the supplier
- Floor plans and measurements have been reviewed by the installation company
- Building access has been arranged (keys, codes, parking permits)
One week before installation:
- Confirm delivery time with the supplier
- Confirm installation crew size and arrival time
- Clear the installation area of obstacles and existing furniture
- Ensure parking is available for installation vehicles
Daily progress tracking items
During installation, track:
- Number of pieces installed and verified
- Any damage or defects noted
- Work hours and crew size
- Schedule adherence (on time, ahead, or behind)
This daily log becomes your record if disputes arise and helps you spot delays early.
Choose a Qualified Installation Company With Proven Experience
Your installation company makes or breaks the project. A skilled team prevents damage and handles problems professionally; an inexperienced crew creates rework and delays.
Verify credentials and insurance
Ask every potential installation company for:
- General liability insurance, minimum $1 million coverage. Request a certificate of insurance.
- Workers’ compensation insurance, required in all states for employees. Confirm it’s current.
- Bonding, protects you if the company fails to complete work or damages your property.
- References, at least three recent projects of similar scope. Call them.
- Licensing, verify any required state or local licenses for commercial installation work.
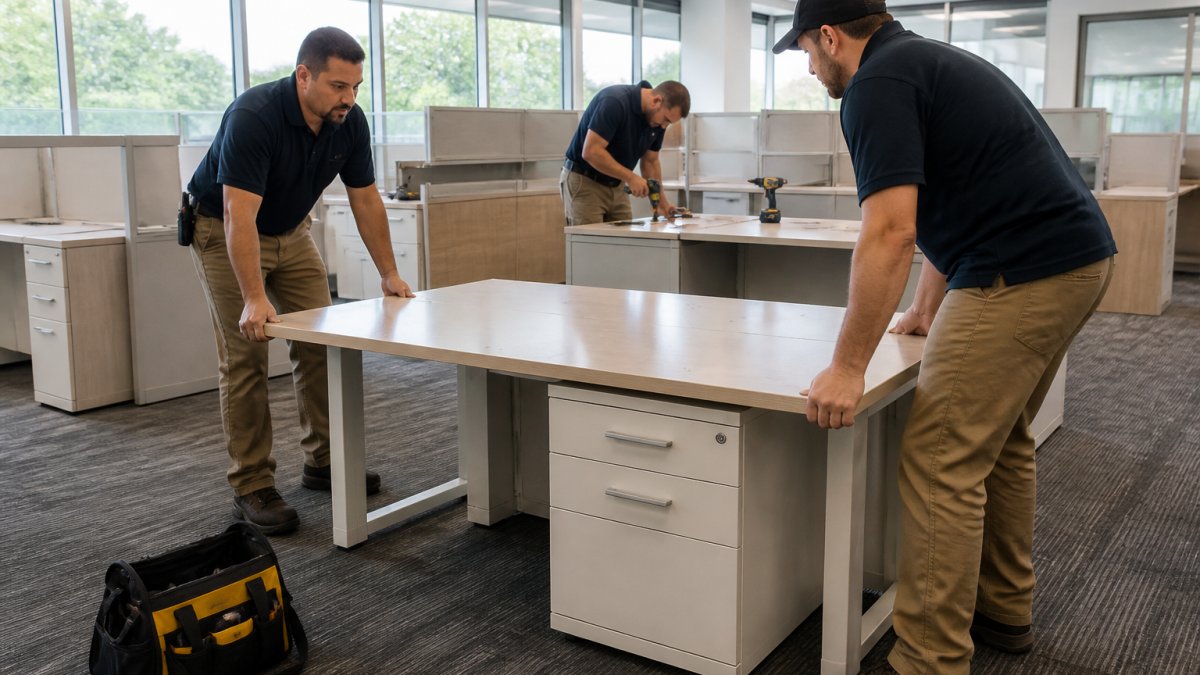
Ask about experience with your specific furniture brands. Steelcase systems, Herman Miller modular workstations, and standard commercial pieces require different assembly techniques; an installer familiar with your brand works faster and makes fewer mistakes.
Check references and past project scope
Call references yourself. Ask:
- How closely did the installer follow the timeline?
- Did they handle unexpected issues professionally?
- Was the work quality high? Any rework needed?
- Did they respect the building and minimize disruption?
- Would you hire them again?
Request photos of completed projects. Look for clean workmanship, aligned pieces, and professional finishing; poor cable management, uneven spacing, or misaligned panels are red flags.
Confirm the installer has handled projects your size. A crew experienced with 50-person buildouts may struggle with a 500-person campus, while a large contractor might overcharge for a small project.
Coordinate Delivery Logistics and Warehouse Storage
Furniture delivery and staging require careful planning. Poor logistics create bottlenecks, damage, and delays.
Schedule deliveries around building occupancy
Coordinate delivery windows with your building management and employees. Most commercial furniture arrives on pallets via large trucks. Timing matters.
Best practices:
- Schedule deliveries early morning (7-9 AM) before most employees arrive
- Use loading docks when available to avoid blocking main entrances
- Arrange for a receiving team to inspect each shipment immediately
- Confirm elevator access and capacity before delivery day
- Block off parking for delivery vehicles
If your building is fully occupied, stagger deliveries across multiple days and coordinate with your installation company so they’re ready to receive and stage pieces as they arrive.
Arrange staging and damage prevention
Designate a staging area where delivered furniture is held safely until installation.
Use protective covering on floors and walls. Heavy items and equipment can scratch or dent surfaces, and repairs add up quickly.
Inspect every piece as it arrives for shipping damage, missing components, or wrong items.
Communicate With Stakeholders and Employees Throughout Installation
Poor communication creates confusion and disruption; clear, consistent updates keep everyone aligned and minimize surprises.
Set expectations on noise, access, and disruption
Before installation begins, brief all affected employees. Explain:
- Installation dates and times
- Which areas will be restricted or inaccessible
- Expected noise levels and duration
- Parking or access changes
- Whether work will affect internet, phones, or utilities
Provide written notice at least two weeks in advance, with reminders one week and one day before work begins. Repetition ensures most employees get the message.
Set clear boundaries with barriers, signage, and floor markings to keep employees away from active installation zones, preventing accidents and keeping installers focused.
Assign a dedicated project manager as point of contact
Designate one person as the single point of contact for your installation project. They handle:
- Daily communication with the installation crew
- Resolving issues and approving changes
- Tracking progress against the timeline
- Documenting work completion and quality
- Coordinating with building management and employees
A single point of contact prevents confusion, reduces miscommunication, and speeds decisions. Installers know who approves changes, employees know who to contact, and everyone stays aligned.
This role can be your facilities manager, office manager, or a designated project lead. The key is consistency: the same person manages the project from start to finish.
Complete the Furniture Installation Punch List and Handoff
The final phase of your furniture installation project management process is the walk-through, punch list, and formal handoff, where you verify quality and protect yourself.
Walk through with installers and document defects
Schedule a formal walk-through after installation is substantially complete. Bring your project manager, a facilities representative, and the installation company’s lead. Walk every area systematically.
Check for:
- Proper alignment and spacing of all pieces
- Stable, level surfaces (use a level tool for desks and tables)
- All components installed and functioning (drawers open smoothly, locks work, adjustable parts move freely)
- Cable management and data connections properly routed
- No visible damage, scratches, or dents
Document everything in writing on a punch-list form noting each defect, its location, and required correction. Photograph damage or incomplete work, and have the installation company sign the punch list acknowledging what remains.
Common punch-list items include:
- Tightening loose bolts or connections
- Adjusting misaligned drawer fronts or cabinet doors
- Patching small dents or scratches
- Removing protective films or stickers
- Final cleaning and debris removal
Verify warranty coverage and closeout procedures
Before finalizing payment, confirm:
- What the warranty covers (typically 1-3 years for labor and defects)
- What is NOT covered (misuse, normal wear, modifications)
- How to report claims and get service
- Response time for warranty issues
- Who handles parts replacement vs. labor
Get warranty terms in writing. Many installers provide limited labor warranties but require you to contact the manufacturer for product defects, so understand who handles what.
Request a final invoice, project summary, and as-built documentation showing the final layout, including changes made during installation. Keep these for future moves or renovations.
Retain all receipts, invoices, and warranty documents in a central location.
Avoid Common Installation Mistakes and Manage Costs
Most installation problems stem from poor planning, unclear communication, or cutting corners on quality. Learning from common mistakes helps you prevent them.
Plan for change orders and contingencies
Change orders modify the original scope, adding furniture, changing layouts, or adjusting timelines.
Minimize change orders by:
- Finalizing floor plans and furniture selections before ordering
- Getting written stakeholder approval before placing orders
- Building contingency time and budget into the plan
- Communicating changes quickly so installers adjust without major rework
When change orders are necessary, get them in writing with the cost and timeline impact, and approve before work begins to prevent disputes.
Set aside 10-15% of your installation budget for unknowns like unexpected repairs, additional labor, or emergency changes.
Prevent rework through quality control
Rework is expensive, fixing mistakes after installation costs more than getting it right the first time.
If you notice a problem during installation, stop work and discuss it with the crew lead immediately.
At Office Furniture Warehouse, we understand the logistics, timelines, and coordination large projects require, provide expert design guidance, and can recommend installation partners who meet your quality standards.
A well-managed furniture installation project protects your budget, respects your timeline, and delivers a workspace your team will use effectively.
Frequently Asked Questions
How long does a typical commercial furniture installation take?
Timeline depends on project scope, workspace size, and whether your office remains occupied during installation. A small 10-person office typically takes 2-5 days; larger 100+ person installations may span 2-4 weeks when phased. Your installation company should provide a detailed timeline with milestones upfront. Buffer 10-15% extra time for unexpected site conditions, delivery delays, or minor rework.
What should be included in an office furniture installation checklist?
Your checklist should cover: pre-delivery measurements and floor plan verification, building access and utility confirmation, furniture inventory and damage inspection upon arrival, assembly and placement per design specifications, stability testing and adjustments, employee communication about workspace changes, and final punch-list walkthrough. Assign someone to track each item daily to catch issues early and prevent costly rework.
How do I prepare my office space for furniture installation?
Clear the space of existing furniture, equipment, and clutter at least 48 hours before installation starts. Verify floor condition, ceiling height, doorway widths, and utility locations (electrical outlets, HVAC vents) match your floor plan. Confirm building access, parking for delivery trucks, and elevator availability. Brief employees on restricted areas and timeline. Have your installation company conduct a final site assessment to catch any surprises before work begins.
What causes delays in commercial furniture installation projects?
Common delays include inaccurate measurements or floor plans requiring rework, delivery vehicle access issues, building access restrictions or elevator unavailability, unexpected structural obstacles, inventory shortages or damaged pieces, and poor coordination between your team and the installation company. A dedicated project manager, detailed site assessment, and clear communication prevent most delays. Build contingency time into your timeline and confirm delivery windows 48 hours in advance.
