Quick Summary
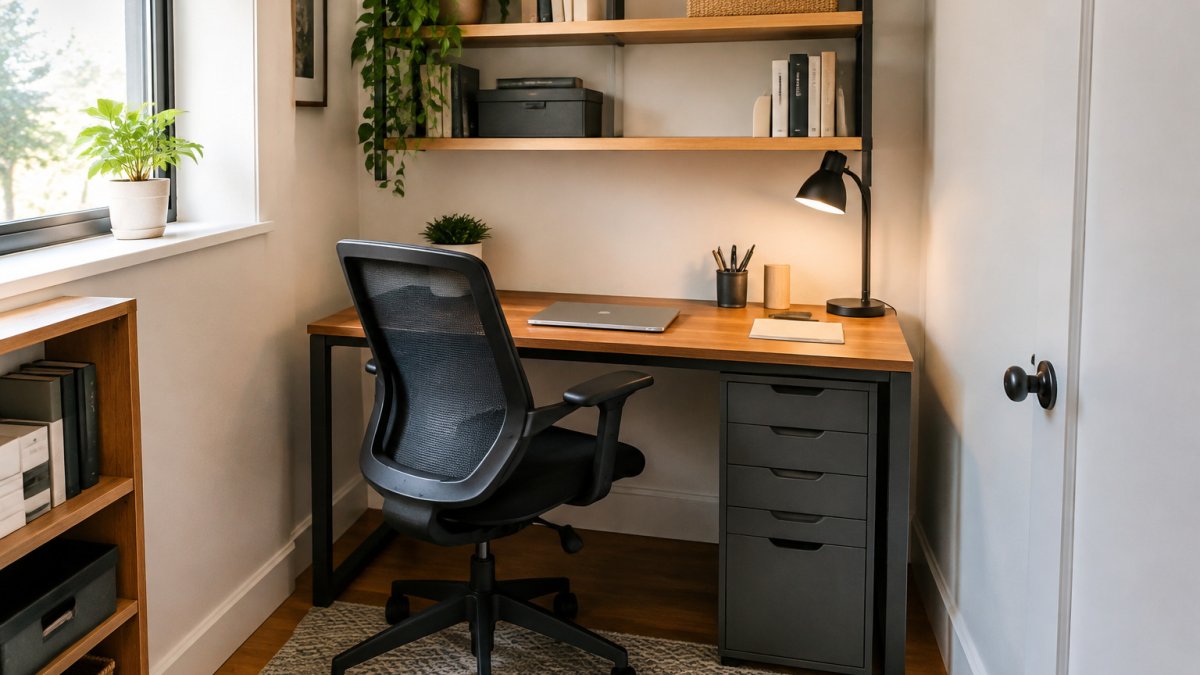
The best way to organize a compact home office is to declutter first, then plan a layout around the desk and use wall and vertical storage. Sort everything before buying storage, group items into daily, weekly, and rare use piles, and keep the most-used items within arm’s reach of your chair. Finish with drawer dividers and cable management so the desk stays clear.
- Sort and declutter everything before buying any storage.
- Group items into use daily, use weekly, use rarely, and not needed piles.
- Measure the room and desk, and sketch your layout before moving furniture.
- Use wall-mounted floating shelves above eye level to free desk space.
- Label every file and box, and route power, data, and display cables separately.
Table of Contents
- Why Clutter Costs More in a Small Office Than You Think
- Step 1: Declutter and Sort Everything Before You Buy Anything
- Step 2: Plan a Small Home Office Layout Ideas That Fit Your Room
- Step 3: Use Vertical Wall Storage and Multi-Functional Furniture
- Step 4: Build a Filing System That Takes Up Almost No Room
- Step 5: Organize Office Supplies at Home With Drawer Dividers and Cable Management
- Home Office Organization Ideas on a Budget: DIY Versus Modular Systems
- Booking Your Next Furniture Upgrade: Choosing Storage That Fits Your Setup
- Frequently Asked Questions
Why Clutter Costs More in a Small Office Than You Think
Clutter in a compact home office does more than look messy.
Here is the thing most guides miss. The problem is rarely the amount of stuff. It is how that stuff is arranged.
In a small office, the same basic items can make the room feel very different depending on whether each one has a home.
- Clutter forces you to search for supplies you already own
- Loose cables and papers make the desk feel crowded
- A messy setup makes it harder to start work each morning
This guide walks through five steps. Each one builds on the last, so start at the top and work your way down.
Step 1: Declutter and Sort Everything Before You Buy Anything
Before you shop for storage, sort what you already have. Many people buy bins and shelves, then realize they are storing things they never use.
Pull everything off the desk, out of drawers, and off the shelves. Group items into piles:
- Use daily: keyboard, mouse, notepad, pens
- Use weekly: printer paper, stapler, chargers
- Use rarely: tax files, old manuals, spare cables
Be honest about the last two piles. Anything in them should leave the room, not get a new box.
Watch out: Do not put “maybe” items back in the drawer. Set them in a box marked for 30 days.
Step 2: Plan a Small Home Office Layout Ideas That Fit Your Room
Once you know what stays, plan where it goes. A good small home office layout starts with the desk, then works outward.
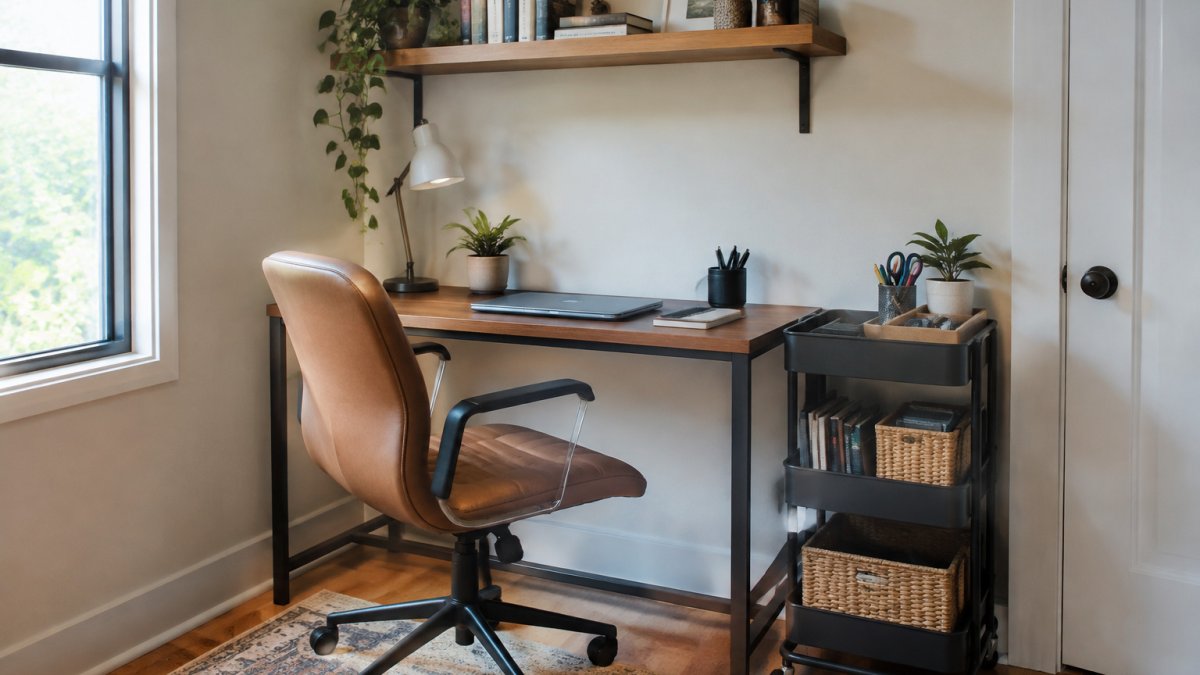
Keep the most-used items within arm’s reach of your chair. Place storage on the walls and corners, not in the middle of the floor.
A few layouts that work well in small rooms:
- Corner desk: uses dead space and frees the center of the room
- Desk against a wall: keeps the back of the desk clear for shelves above
- Narrow desk with a rolling cart: the cart tucks beside the chair when not in use
Sketch your layout on paper before you move furniture. It takes five minutes and can save you a weekend of rearranging.
Step 3: Use Vertical Wall Storage and Multi-Functional Furniture
Floor space is limited in a compact office. Walls offer more room. Wall-mounted floating shelves hold books, binders, and décor without taking up desk space. Place them above eye level so they do not crowd your monitor.
Multi-functional furniture also helps. A storage ottoman can serve as seating and hold supplies inside. A monitor stand with drawers lifts your screen to eye level and adds storage underneath.
Some options to consider:
Step 4: Build a Filing System That Takes Up Almost No Room
Paper is the hardest clutter to control in a small office. A simple filing system keeps it manageable. Start with three categories: active, reference, and archive.
- Active: current projects and bills, kept on a vertical sorter on the desk
- Reference: manuals, warranties, and records, kept in a file box
- Archive: old tax returns and paperwork you must keep, stored out of the room
A plastic file box with a snap-lock lid fits under a desk or in a closet. Stackable designs use vertical space well.
Label every file and box. Labels save time when you need a document in a hurry.
Step 5: Organize Office Supplies at Home With Drawer Dividers and Cable Management
Small supplies and cables are the two clutter sources that quietly reclaim the most usable desk surface in a compact office. Pens, clips, and sticky notes scatter across a drawer in days. Cables multiply behind the monitor until the floor becomes a trip hazard and the desk feels chaotic even when the surface is clear. This step fixes both with systems that cost little and take minutes to install.
Drawer dividers: give every small item a fixed address
Start by emptying the main desk drawer onto a towel.
Clear acrylic or plastic dividers can help in a compact desk because you can see the contents without pulling the drawer open fully.
A practical layout for a standard 12-by-18-inch desk drawer:
- Front third: daily-use pens, a small notepad, and binder clips in a shallow tray
- Middle third: sticky notes, correction tape, and a mini stapler in divided bins
- Back third: refills, spare chargers, and less-used items in deeper compartments
Watch out: Do not overfill compartments. Leave roughly a finger’s width of slack in each bin so you can lift items out without dumping the whole tray.
Cable management: separate power, data, and display runs
The goal is not to hide every cable. It is to route power, data, and display cables on separate paths so they do not tangle, overheat, or pull on ports.
A workable sequence:
- Mount a surge-protected power strip under the desk near the back edge, using screws or heavy-duty adhesive strips rated for the strip’s weight. This removes the floor clutter that makes a small room feel smaller.
- Run one velcro wrap every 6 to 8 inches along each cable bundle. Velcro is often a practical choice over zip ties in a compact office because cables are re-routed as devices change.
- Use adhesive cable clips along the underside of the desk to keep runs parallel and off the floor.
- Label both ends of every cable with a small wrap label or a piece of masking tape. When you need to swap a device, you will not unplug the wrong cord.
For a digital-physical hybrid setup, add a USB-C docking station or hub mounted to the underside of the desk or the back edge. This consolidates monitor, keyboard, mouse, and charging connections into one cable that reaches your laptop.
A realistic starting budget
| Problem | Fix | Typical Starting Price |
|---|---|---|
| Loose pens and clips | Clear interlocking drawer dividers | $12 |
| Tangled cords | Under-desk surge-protected power strip | $20 |
| Cable sprawl | Velcro wraps and adhesive clips (mixed pack) | $8 |
| Device switching | USB-C hub or docking station | $35 |
| Stacks of mail | Vertical document sorter | $10 |
| Extra supplies | Slim rolling cart | $30 |
Prices are starting points for common sizes and finishes. Actual costs depend on capacity, brand, and quantity.
The psychological payoff
A common pattern in small-office setups is that visible cable nests and scattered supplies raise the mental cost of starting work. When every item has a fixed home and every cable has a labeled route, you spend less time scanning and more time working. The physical system is simple. The benefit is a desk that feels larger and a morning routine that starts without friction.
Home Office Organization Ideas on a Budget: DIY Versus Modular Systems
Most organization guides push you toward one path: buy a matching modular system or cobble together a DIY setup from whatever is on sale. The more useful question is which approach returns more usable space per dollar in a compact office. The answer depends on how long you plan to stay, how often your setup changes, and how much visual consistency matters to you.
DIY systems: low entry cost, high flexibility, uneven results
A DIY approach uses off-the-shelf bins, shoe boxes, hooks, pegboard, and adhesive mounts. The entry cost is low and the system is easy to reconfigure.
The trade-offs are real. Mismatched bins look cluttered even when they are organized. Adhesive mounts can fail on textured or painted walls. And a DIY system rarely fits a compact desk or shelf exactly, which leaves dead space you cannot use.
Modular systems: higher upfront cost, predictable fit, easier expansion
Modular systems are designed as a set: drawer dividers that interlock, shelf units that stack, and desk organizers sized to standard drawer dimensions. They cost more up front, but they fit together without gaps and expand as your needs change.
The trade-off is commitment. Once you buy into a modular system, adding pieces usually means buying from the same line. If the line is discontinued, expansion becomes harder.
A simple ROI framework
Compare the two approaches on three factors:
- Cost per usable square foot: Divide the total cost by the floor or wall area the system actually organizes. DIY often wins on raw cost, but modular systems usually win on usable area because they fit tightly.
- Reconfiguration cost: If your setup changes every few months, DIY wins because you can move pieces without buying new ones. If your setup is stable, modular wins because it looks and fits better from day one.
- Time to install: DIY takes more planning and trial and error. Modular systems install faster because the pieces are designed to work together.
A practical middle path is to start with DIY for the categories that change often (supplies, cables, incoming paper) and invest in modular pieces for the categories that stay fixed (filing, reference books, archive storage).
Watch out: Do not buy a full modular system before you have lived with a DIY version for at least a month. The first layout almost always reveals a category you over- or under-estimated.
Where the budget actually goes
In a compact office, the purchases that usually matter most are the ones that reclaim desk surface and floor space, such as an under-desk cable tray, a vertical document sorter, and a slim rolling cart.
Booking Your Next Furniture Upgrade: Choosing Storage That Fits Your Setup
When you are ready to upgrade, bring your layout sketch and measurements with you. Knowing your exact space makes it easier to choose the right desk, shelves, and storage.
Ask yourself these questions before you buy:
- Does the piece fit the wall or corner I planned?
- Will it hold what I need to store, with room to grow?
- Does it leave enough space to walk and sit comfortably?
If you want help choosing pieces that fit your room, visit Office Furniture Warehouse. Pricing depends on quantity, delivery, and the items you choose, so visit our website or contact us for a current quote.
Frequently Asked Questions
How do I organize my small home office?
Start by removing everything you do not use weekly, then group what remains by task: writing, calls, filing and supplies. Assign each group a fixed zone on the desk, wall or cabinet so every item has one home. Use vertical storage such as wall shelves and tiered sorters to keep the desk surface clear. Reassess the setup after two weeks and move anything you reach for often closer to your chair. Keeping daily items within arm’s reach is the single biggest time saver in a compact workspace.
What is the 10-10-10 rule for decluttering?
The 10-10-10 rule is a quick decision test: ask whether an item will matter to you in 10 minutes, 10 months and 10 years. If the answer is no for all three, it is a strong candidate to donate, recycle or store elsewhere. In a small office this filter works well for old manuals, duplicate supplies and paper you no longer need. Apply it drawer by drawer rather than trying to clear the whole room in one session, which keeps decisions manageable and reduces the urge to keep things just in case.
How can I organize a compact home office on a budget?
Begin with low-cost tools you already own, such as cardboard boxes, shoeboxes and painter’s tape to mark zones. Clear plastic drawer dividers and a basic desktop sorter are inexpensive upgrades that make a large difference. Floating shelves are another affordable option for moving supplies off the desk. If you want more permanent furniture, check current prices or request a quote on the company website, since cost depends on quantity, delivery and the items selected.
How do I organize a home office filing system?
Sort paper into four categories: active projects, tax and financial records, reference documents and items to shred. Keep only active files within reach, using a vertical document sorter or a lidded plastic file box that stacks or slides under the desk. Label every folder clearly and review the archive once a year, moving older records to labeled storage boxes. Keep financial records for the period your accountant or tax advisor recommends and shred sensitive documents rather than tossing them whole.

